Holiday Cookie Decorating

It’s Holiday Cookie Season at TBK!
We are always looking for creative and easy ways to decorate cookies that will impress both young and old and are simple enough that everyone can do!
We love this Sugar Cookie Recipe which we use for our Holiday Cookie Camps and Summer Bake Sales. It is a quick and versatile dough that can be flavored, colored and shaped for any event. And this is our tried and true recipe for Meringue Royal Icing, it works every time!
Sugar Cookie & Decorating Instructions
- Follow Sugar Cookie recipe above to make the cookie dough. Dough should be dry enough that it does not stick to your hands – this will ensure less mess as well as a cookie that holds it shape through baking.
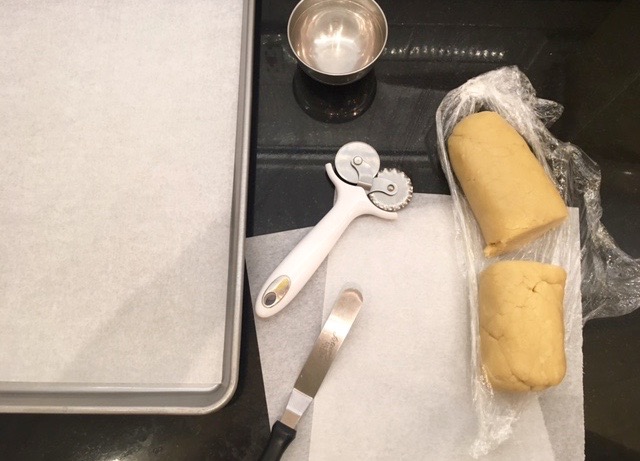 Once dough is done, scoop into plastic wrap, in log shapes and let dough chill in fridge for at least 20 minutes, so butter can harden again.
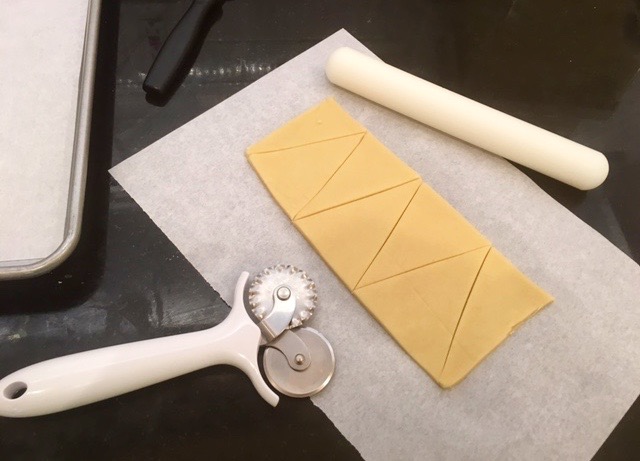
- Work with a small piece of dough at a time, keeping the rest of the dough refrigerated. Roll dough flat between two pieces of parchment until a little less than 1/4 inch thick. For our two Holiday Cookie shapes we don’t use cookie cutters, our first shape is a triangle – which we create by shaping flat dough into long rectangle and slicing triangles out.
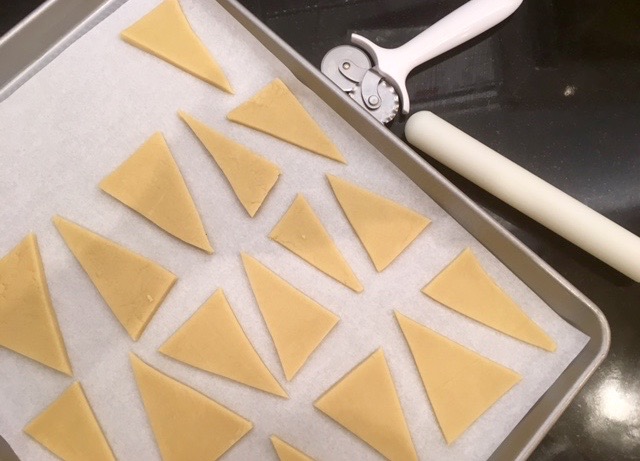
- Cookies can be pretty close together since they don’t spread at all.
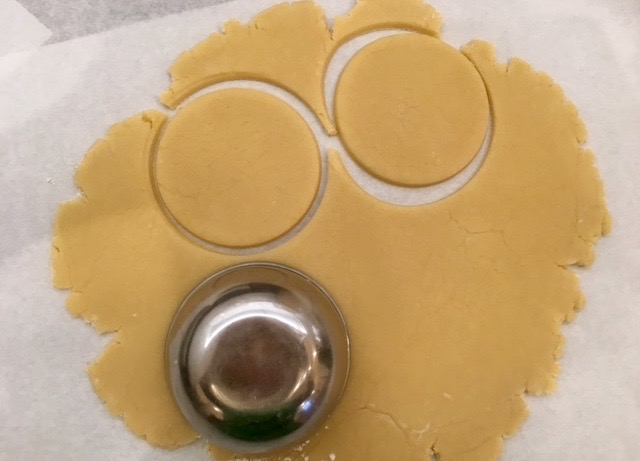
- For our circle ornament cookies we use a small bowl to cut out the circle shape – you can get creative with cups, jars etc for this anything with a sharp enough edge to cut through the cookie dough.
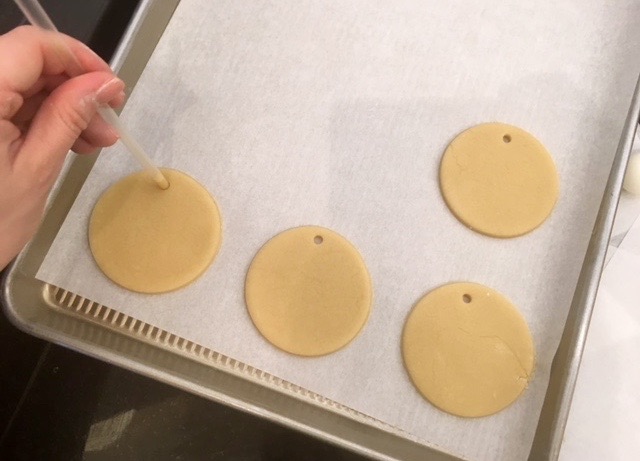
- Use a straw to make small holes at the top of ornaments (that you can string yarn through when they are done).
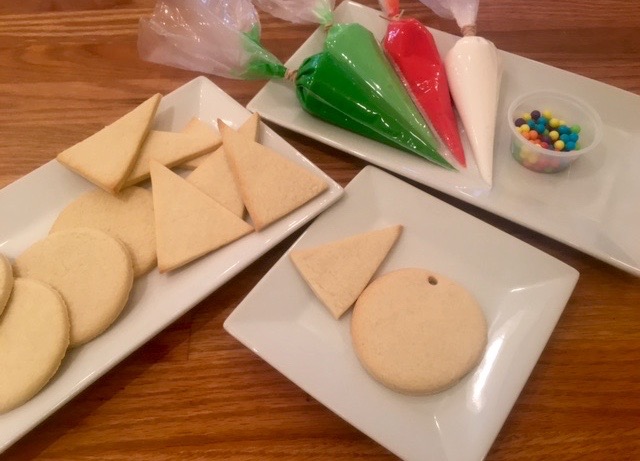
- While cookies are baking make your Meringue Royal Icing and prepare your colors. Check consistency of icing, icing should be thin enough that it is easily squeezed out of small hole.
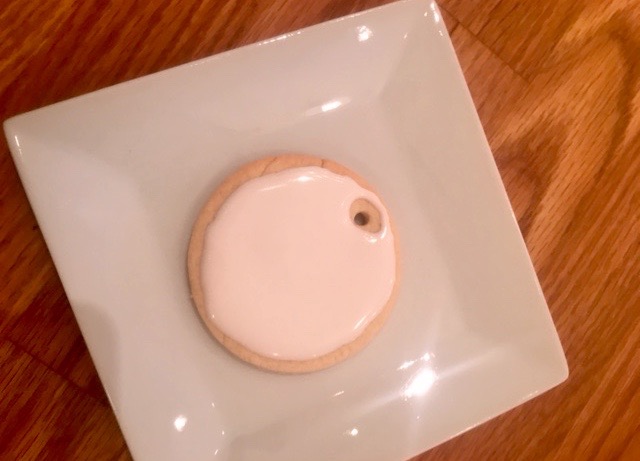
- When cookies are cooled and all icing is colored and bagged, you are ready to decorate. Cookies look great when they follow a consistent decorating technique. Start by outlining the edge of the cookie with icing, then filling in with a thin layer.
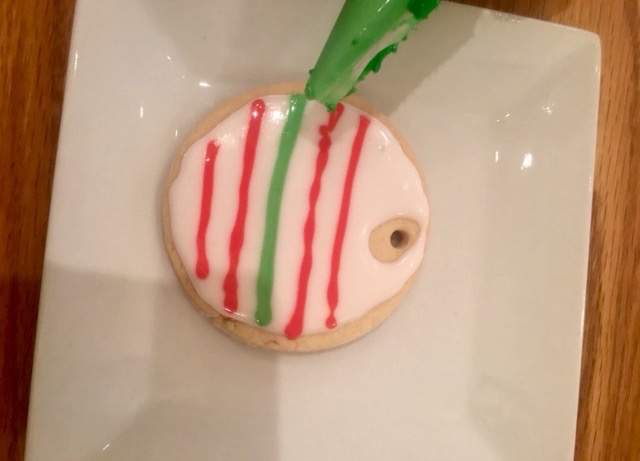
- Quickly follow with your accent colors and make thin straight lines across cookie.
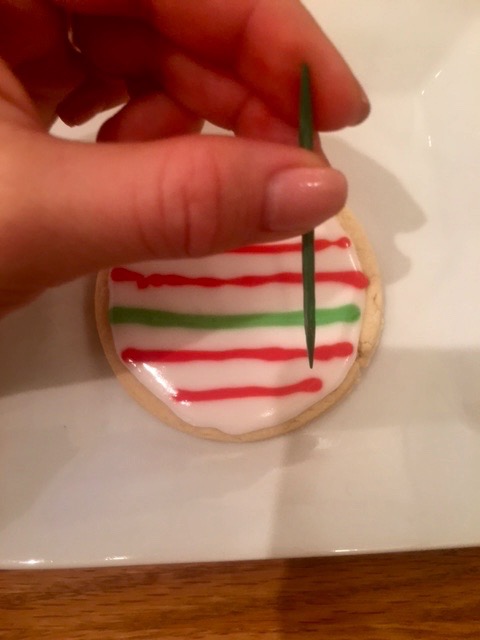
- Before icing has a chance to dry, using a toothpick drag through icing up and dough through the accent colors to create marble design.
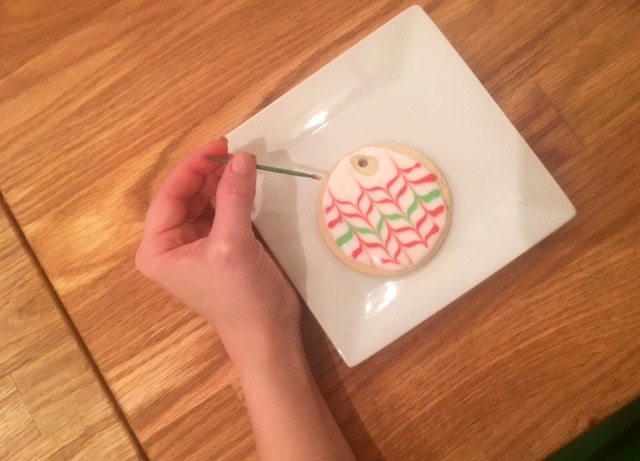
- Final Ornament cookie will look like this! Mix and match colors and patterns on cookies for variety.
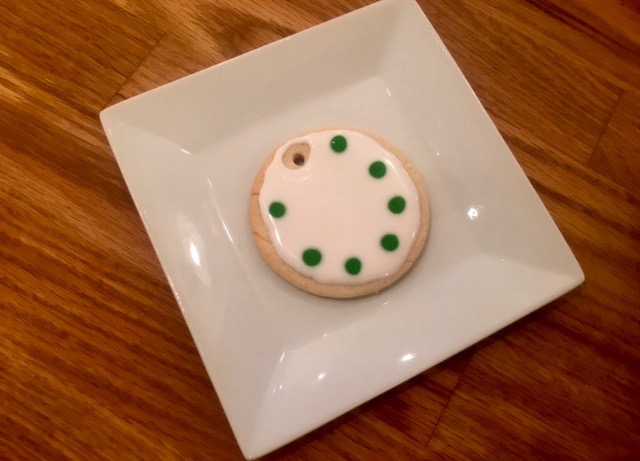
- Another variation on the ornament cookie is our wreath decorating technique. Start with the same outline and fill on the cookie, instead of straight lines across, decorate with small green dots going around the cookie.
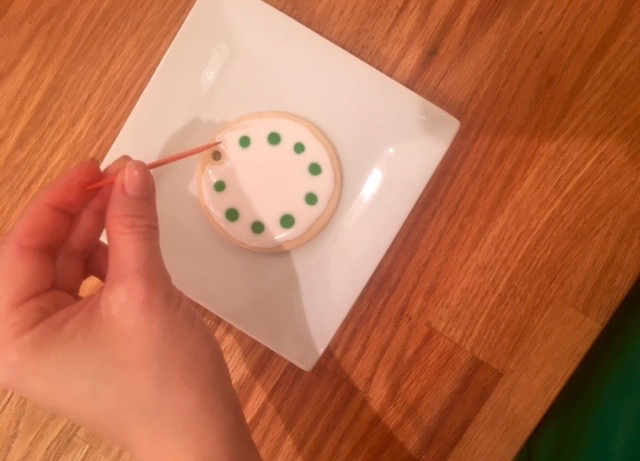
- Using your toothpick and starting at the dot closest to the hole, drag through in one circle motion all the way around.
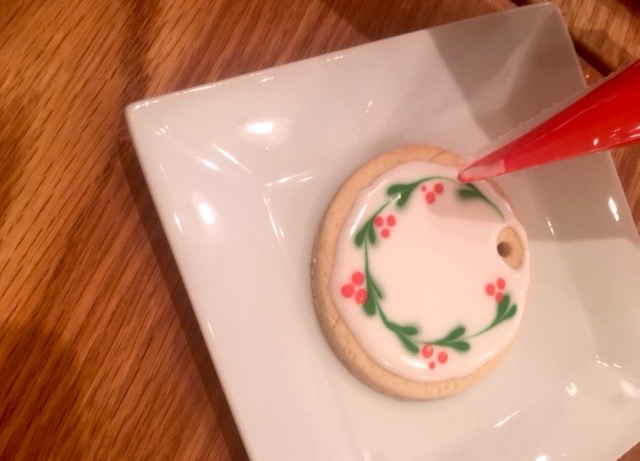
- Finish wreath with accent of small red dots all around.
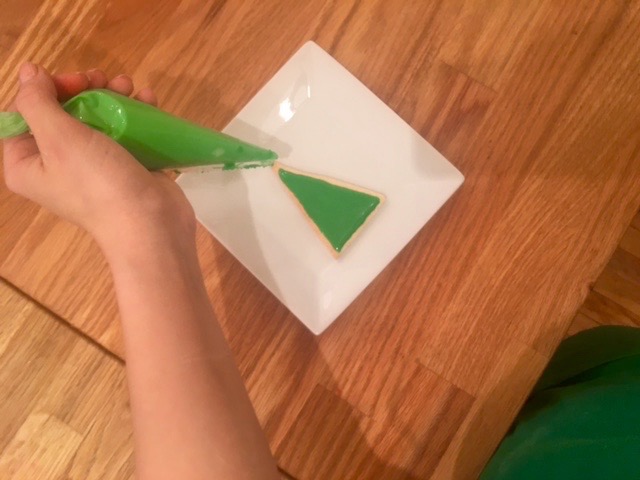
- For our triangles – to create Christmas Trees, outline cookie with green icing and then fill with thin layer.
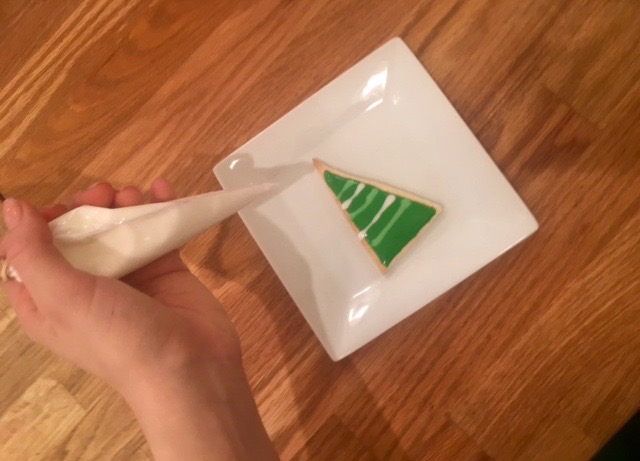
- Using a lighter green icing, white icing or combo of both colors pipe thin line across cookie.
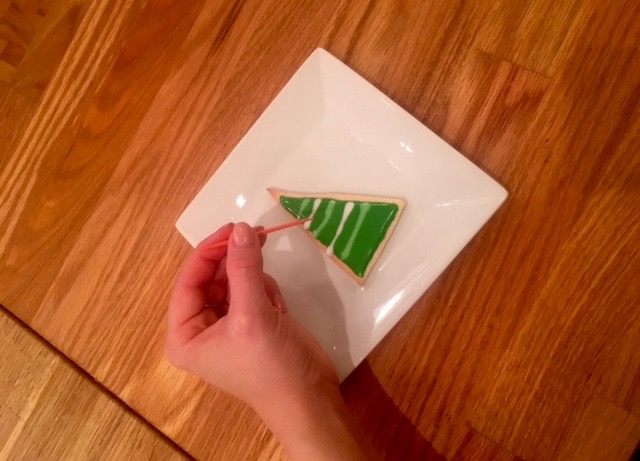
- Follow the same technique as the ornament cookie, using a toothpick drag lines alternating up and down going through the accent colors.
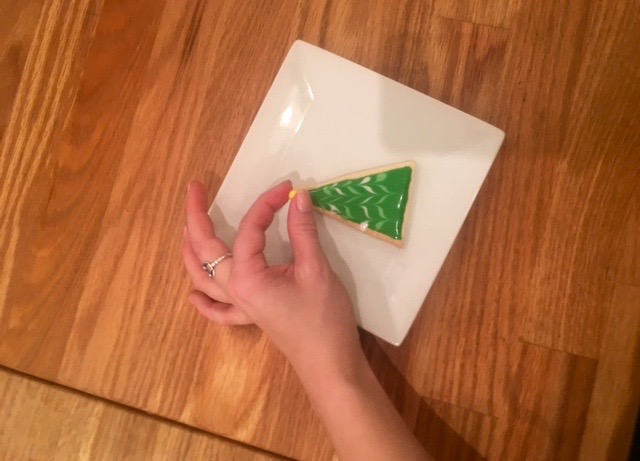
- Finish with accent for tree topper and colorful dots for ornaments.

- Let cookies dry completely before serving, it takes at least 1 hour to dry – the longer they get to dry, the better.

